
Chazie Baniquid
Technical Content Marketer
4 minutes to read
How to Limit Form Submissions in MC4WP: Mailchimp for WordPress?
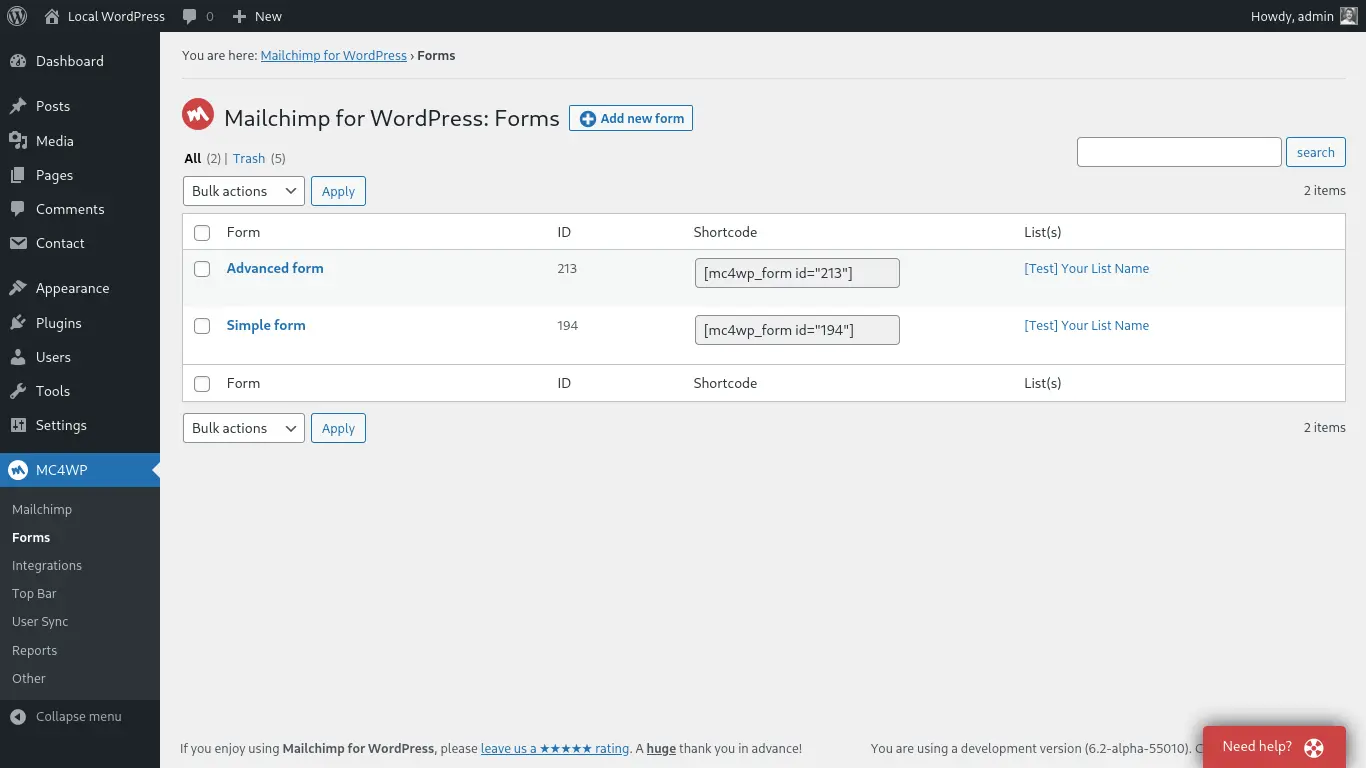
MC4WP doesn’t have a built-in feature to limit how many times users can submit forms. To control this, connect it with a WordPress form builder that supports submission limits or use a spam protection plugin like OOPSpam Anti-Spam. These tools help block bots, prevent duplicate sign-ups, and keep your Mailchimp lists clean.
Why Limit Form Submissions in MC4WP
Too many submissions, especially spam, can clutter your Mailchimp audience and waste email credits. Limiting submissions ensures real, intentional sign-ups and reduces fake or repeated entries.
Common problems you can prevent:
- Repeated spam from the same IP address
- Fake email sign-ups inflating your list
- Slower site performance from spam floods
Option 1: Use a WordPress Form Builder
If you use Mailchimp for WordPress (MC4WP), you can connect it with a form builder plugin that includes submission limits. These form builders have built-in tools to restrict entries:
- WPForms – Limit entries per IP or user.
- Ninja Forms – Set total or daily submission caps.
- Gravity Forms – Schedule form availability (start and end dates).
- Everest Forms – Restrict multiple entries from the same user.
After setting limits, integrate your form with Mailchimp using MC4WP’s connection settings. This ensures every valid submission goes straight to your Mailchimp list safely.
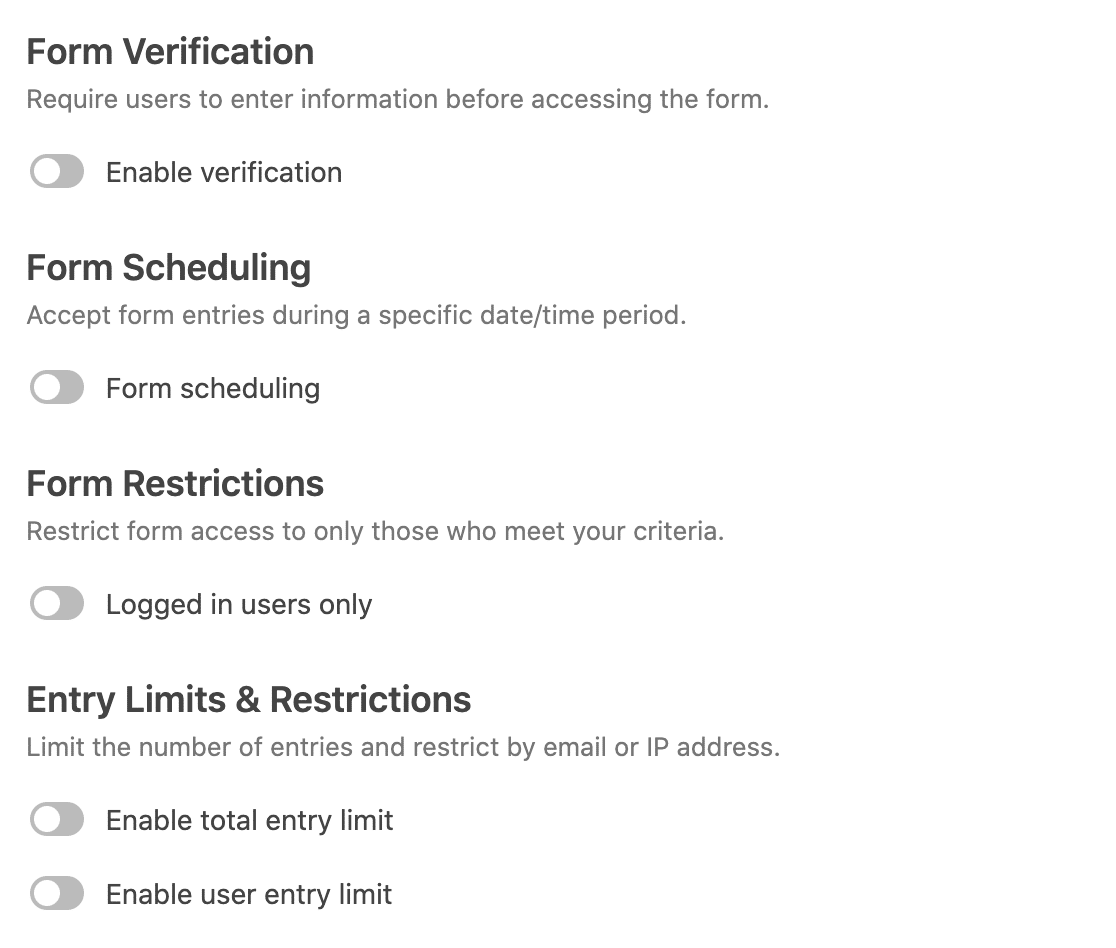
Note: The screenshot below shows the entry limit and restriction settings in WPForms, where you can enable total or per-user and IP submission limits.
Option 2: Use OOPSpam for Rate Limiting and Spam Control
OOPSpam Anti-Spam (that’s us 👋) gives you advanced protection and lets you control how often a user can submit a form. It uses machine learning to detect spam and includes rate limiting, country blocking, and language filtering.
How to Set Up OOPSpam for MC4WP
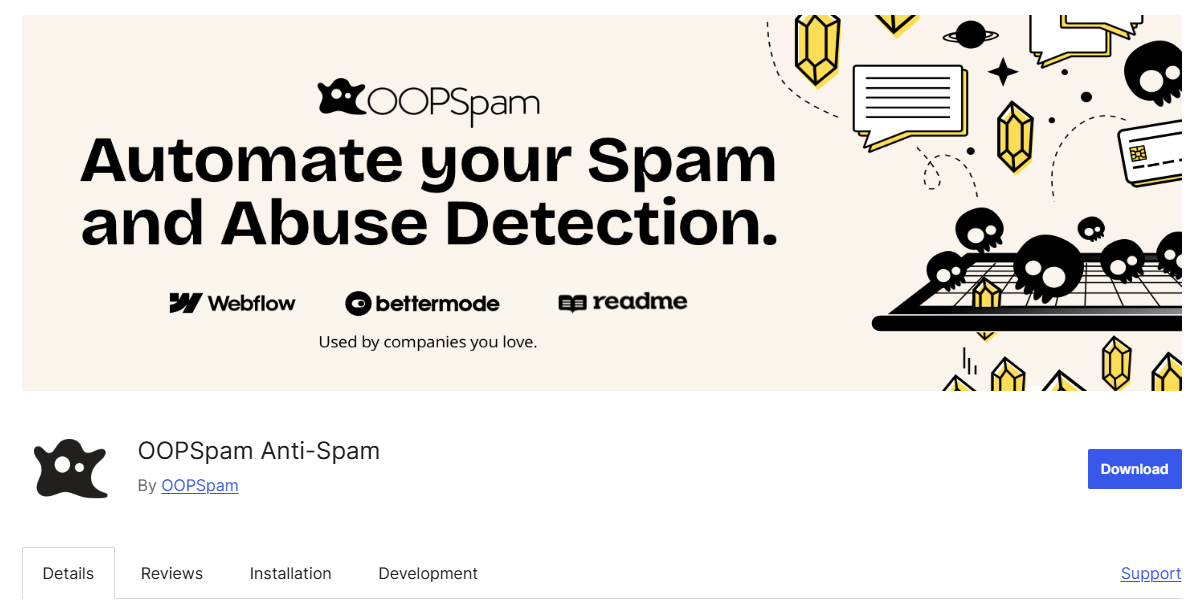
Go to Plugins → Add New and search for OOPSpam Anti-Spam. Install and activate it.
Step 1: Get Your OOPSpam API Key
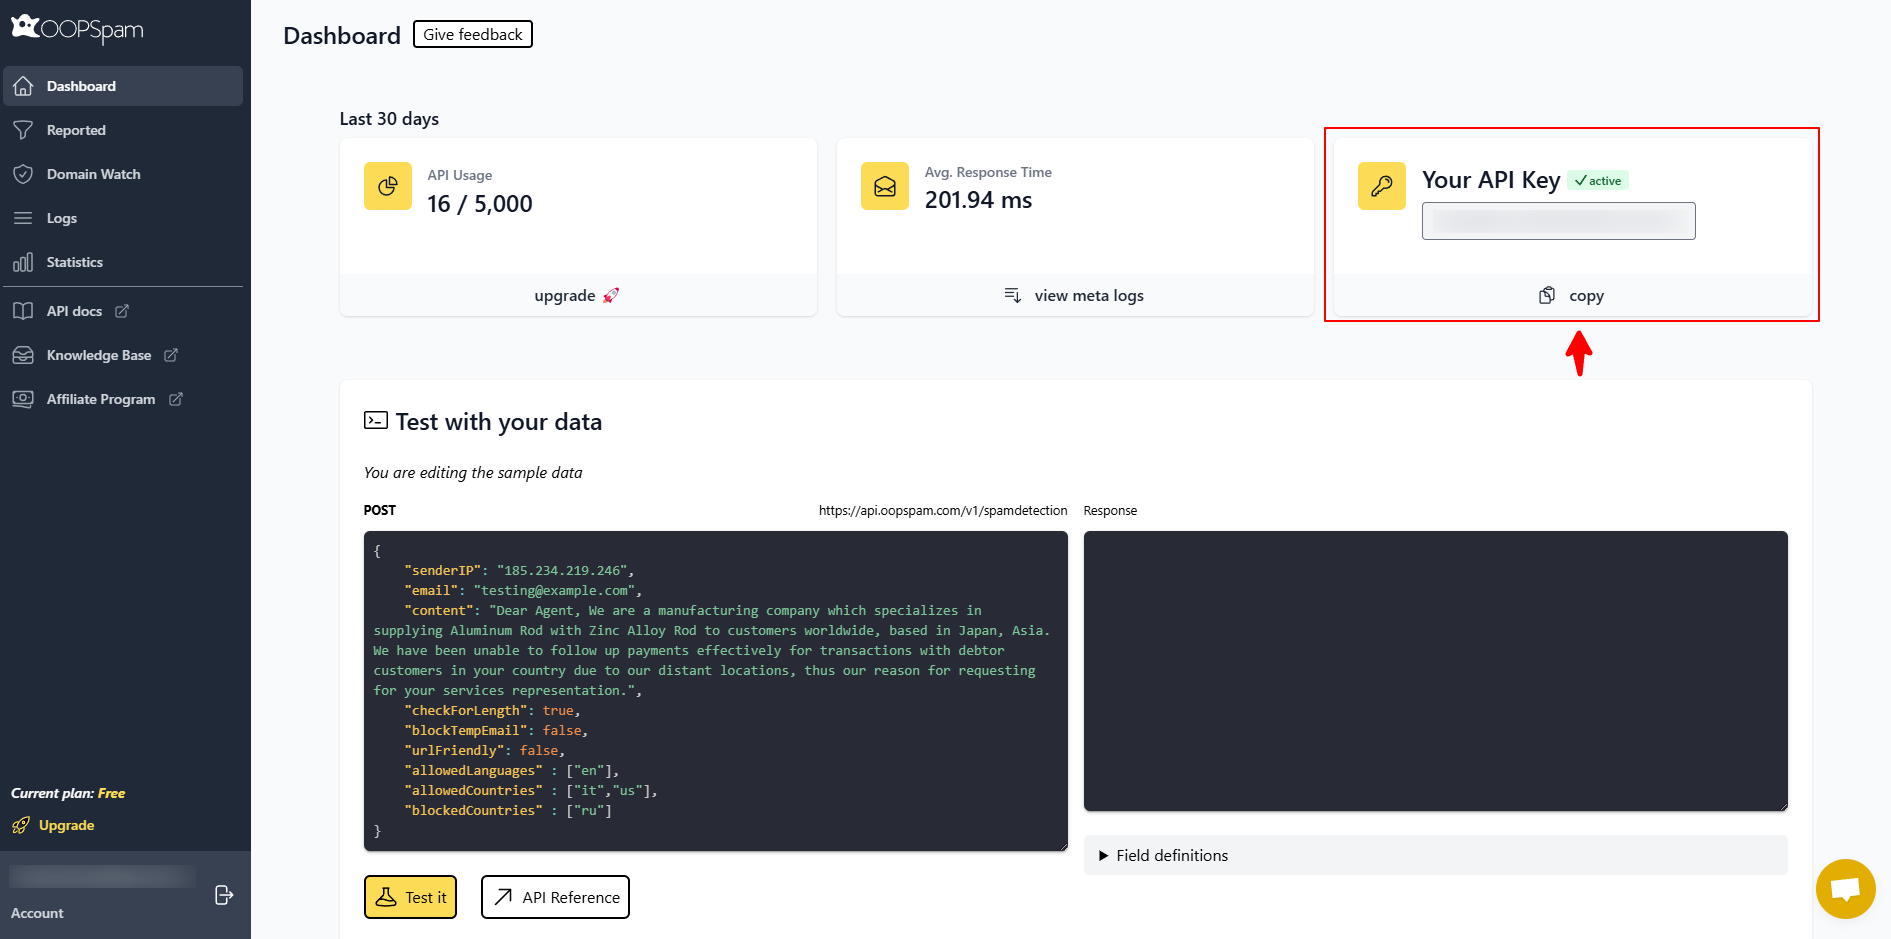
Create an account at OOPSpam.com. Copy your API Key from the dashboard.
Step 2: Paste the API Key in WordPress
In WordPress, go to OOPSpam → General Settings. Paste the API key and set the sensitivity to Moderate (recommended). Click Save Changes.
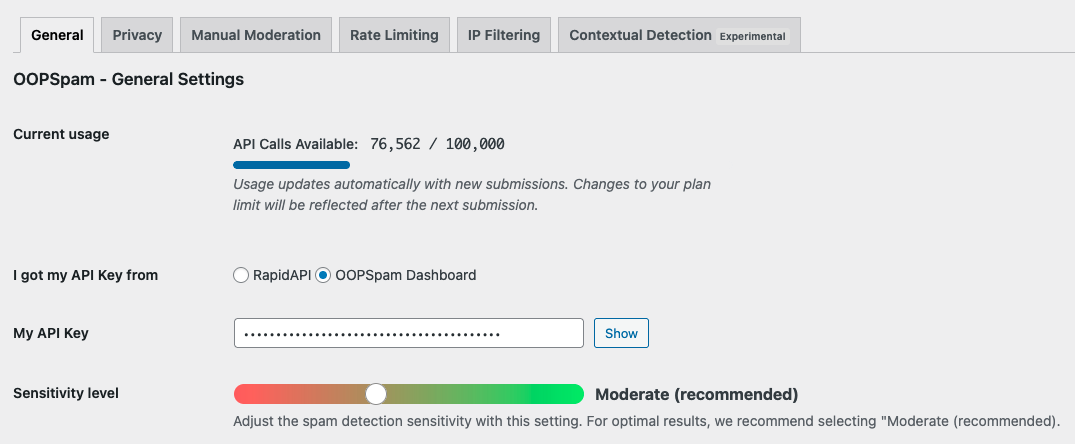
Step 3: Activate MC4WP Spam Protection
Enable MC4WP Spam Protection inside the OOPSpam settings and click Save Changes again.

Step 4: Enable Rate Limiting
Go to the Rate Limiting tab. Toggle Enable Rate Limiting ON and set your preferred limits:
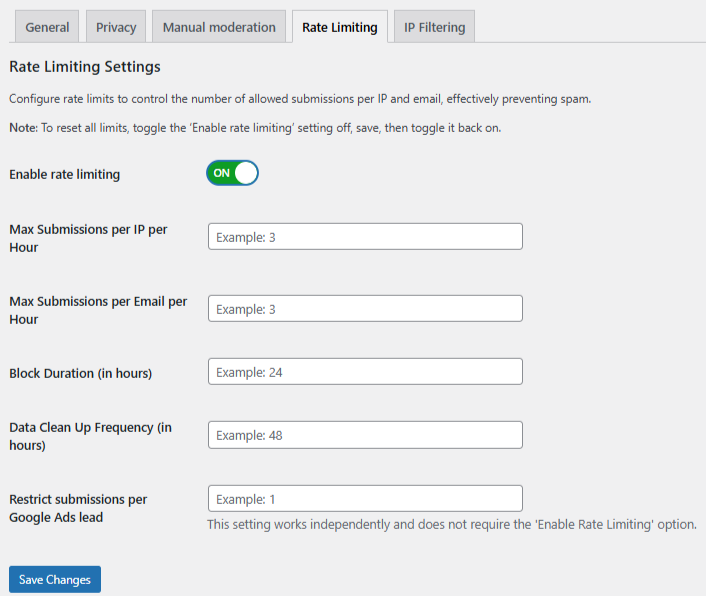
- Max submissions per IP/hour – Prevents repeated IP attempts.
- Max submissions per email/hour – Stops bulk email sign-ups.
- Block duration (hours) – Controls how long blocked users remain restricted.
- Data cleanup (hours) – Automatically clears old log data.
Click Save Changes.
Step 5: Strengthen Protection
For best results, enable these filters:
- VPN / Proxy / TOR Blocking – Stops anonymous spam.
- Country-based filtering – Blocks unwanted regions.
- Language filter – Flags irrelevant or foreign content.
- Contextual spam detection – Uses machine learning to identify suspicious activity.
- Logs and monitoring – Track both blocked and allowed submissions.
Testing and Verifying Your Setup
After setup, test your MC4WP form by submitting it multiple times. If limits work correctly, OOPSpam will block repeated or fake entries while allowing legitimate users to subscribe.
Check your OOPSpam logs to confirm accurate filtering.

Final thoughts
Limiting form submissions in MC4WP protects your audience data and improves email campaign quality. While MC4WP focuses on connecting WordPress to Mailchimp, combining it with OOPSpam or a compatible form builder gives you full control over form activity.
Together, these solutions prevent spam, reduce fake sign-ups, and ensure your Mailchimp campaigns reach the right people. For full instructions on setting up OOPSpam and using its advanced features, visit OOPSpam’s support center.